If you have just purchased your first Lodge cast iron skillet or inherited a neglected cast iron pan that has lost its non-stick surface, knowing how to season a cast iron pan properly is the single most important skill you need to unlock the full potential of this legendary cookware. Seasoning is not just a coating — it is a living, improving layer of polymerized oil that transforms raw cast iron into a naturally non-stick cooking surface that improves with every use and lasts for generations.
As a kitchen efficiency expert based in Austin, Texas, I have seasoned dozens of cast iron pans over the years — from brand new Lodge skillets fresh from the factory to antique pans rescued from garage sales that had decades of rust and neglect to overcome. The process of building a beautiful, smooth, naturally non-stick seasoning layer on cast iron is one of the most satisfying kitchen maintenance tasks available, and the results — a pan that releases eggs cleanly, sears steaks with a perfect crust, and bakes cornbread that slides out effortlessly — are genuinely extraordinary.
Here is my complete, tested guide on how to season a cast iron pan using five simple steps that produce a durable, functional seasoning layer from the very first application.
Table of Contents
What Is Cast Iron Seasoning and Why Does It Matter?
Before we dive into how to season a cast iron pan, it is essential to understand exactly what seasoning is, how it works, and why it is so critical to cast iron performance.
The Science of Cast Iron Seasoning:
Seasoning is a layer of polymerized oil that bonds chemically to the surface of the cast iron. When oil is applied to cast iron and heated beyond its smoke point, the fatty acid chains in the oil undergo a process called polymerization — the individual oil molecules link together into long, stable chains that form a hard, smooth, plastic-like coating on the metal surface.
This polymerized oil layer serves three critical functions:
- Non-Stick Surface: The smooth polymerized layer fills the microscopic pores in the rough cast iron surface, creating a surface that food cannot grip and stick to
- Rust Prevention: Cast iron rusts rapidly when exposed to moisture and oxygen. The seasoning layer seals the metal surface from environmental exposure, preventing rust formation
- Flavor Enhancement: A well-seasoned pan imparts a subtle, complex flavor to food — particularly to high-fat cooking like bacon, seared steaks, and pan sauces — that no other cookware material can replicate
The Difference Between Factory Seasoning and Built Seasoning:
Lodge ships every cast iron pan pre-seasoned with vegetable oil — a single seasoning layer applied at the factory. This factory seasoning is a starting point, not a finished surface. The factory layer is thin and provides basic rust protection but does not yet deliver the smooth, non-stick performance that a well-seasoned pan achieves after months of cooking.
Building additional seasoning layers — through both deliberate seasoning sessions and regular cooking — is what transforms a factory-seasoned pan into the legendary non-stick surface that cast iron is famous for.
The Warning Signs Your Cast Iron Pan Needs Seasoning:
- Food sticking to the cooking surface consistently
- Dull, grey, or patchy appearance rather than a uniform dark sheen
- Visible rust spots or reddish-brown discoloration
- A rough, gritty texture on the cooking surface
- Metallic taste transferring to food during cooking
The Best Oil for Seasoning Cast Iron
Before we cover how to season a cast iron pan step by step, choosing the right oil is critical. Not all oils produce the same quality of seasoning.
The Science of Oil Selection:
The ideal seasoning oil has two characteristics:
- High Smoke Point: The oil must reach its polymerization temperature (which occurs above the smoke point) before burning. Oils with higher smoke points allow more time for even polymerization before the oil burns and produces a sticky, gummy surface
- High Proportion of Unsaturated Fatty Acids: Unsaturated fats polymerize more completely and produce a harder, more durable seasoning layer than saturated fats
The Complete Oil Comparison:
| Oil | Smoke Point | Seasoning Quality | Availability | Cost |
|---|---|---|---|---|
| Flaxseed Oil | 225°F | Excellent (hardens best) | Health food stores | High |
| Crisco (Vegetable Shortening) | 360°F | Very Good | Supermarket | Low |
| Canola Oil | 400°F | Good | Supermarket | Low |
| Vegetable Oil | 400°F | Good | Supermarket | Low |
| Grapeseed Oil | 420°F | Very Good | Supermarket | Medium |
| Avocado Oil | 520°F | Excellent | Supermarket | Medium |
| Coconut Oil | 350°F | Moderate | Supermarket | Medium |
| Olive Oil | 375°F | Poor (too low smoke point) | Supermarket | Medium |
| Lard/Bacon Fat | 370°F | Very Good (traditional) | Supermarket | Low |
Sarah’s Oil Recommendation:
For initial seasoning sessions (building the base layers), I recommend flaxseed oil for the hardest, most durable initial seasoning. For ongoing maintenance seasoning during cooking, Crisco vegetable shortening or canola oil provide excellent results at the most accessible price points.
The Oil to Avoid:
Never use olive oil for seasoning. Its low smoke point means it burns before polymerizing effectively, producing a sticky, gummy surface rather than a hard, smooth seasoning layer.
Step 1: Strip and Clean the Pan (The Foundation)
The first step in how to season a cast iron pan is ensuring you are starting with a completely clean surface — free of old seasoning, rust, and food residue that would prevent the new seasoning from bonding properly to the metal.
When You Need to Strip the Pan:
- Newly purchased pre-seasoned pan (to remove factory residue before building proper layers)
- Rusty or neglected pan rescued from storage
- Pan with sticky, gummy, or uneven existing seasoning
- Pan that has developed persistent food sticking despite regular use
The Stripping Method:
- If the pan has rust, scrub with steel wool or a chain mail scrubber under running water until all rust is removed and bare grey metal is visible
- If the pan has old, gummy seasoning, place it upside down in a 500°F oven for 1 hour to burn off the old seasoning, then allow to cool completely
- Wash the stripped pan with warm water and a small amount of dish soap — this is the one situation where soap is appropriate for cast iron
- Rinse thoroughly and dry immediately with a clean cloth
- Place the pan on the stovetop over low heat for 5-10 minutes to evaporate any remaining moisture — any water remaining in the surface pores will cause rust before you can apply the first seasoning layer
For a New Factory-Seasoned Pan:
Simply wash with warm soapy water to remove any factory residue, rinse, and dry completely on the stovetop over low heat.
Related Guide: See my How to Clean a Cast Iron Skillet for complete cleaning instructions before beginning the seasoning process.
Step 2: Apply an Ultra-Thin Oil Layer (The Critical Technique)
This is the most important — and most commonly misunderstood — step in how to season a cast iron pan. The quantity of oil applied is the single most critical variable in producing high-quality seasoning.
The Thin Layer Principle:
More oil does not produce better seasoning. It produces worse seasoning. Thick oil layers polymerize on the outside before the interior can polymerize, trapping unpolymerized oil underneath that remains sticky, gummy, and prone to flaking.
The correct amount of oil for seasoning a 12-inch cast iron pan is approximately one teaspoon — enough to coat the surface in a microscopically thin layer.
The 2026 Method:
- Ensure the pan is completely dry and cool before applying oil
- Place approximately one teaspoon of your chosen oil on the cooking surface
- Use a clean lint-free cloth or paper towel to spread the oil across the entire cooking surface in a thin, even layer
- Continue spreading and buffing the oil until the pan appears almost dry — if you can see a visible oil sheen, you have applied too much
- Using a separate clean cloth, wipe the pan again firmly to remove any excess — this step is critical
- Apply the same ultra-thin layer to the exterior of the pan, the sides, the bottom, and the handle
- The pan should look almost as though no oil has been applied — this is correct
The Common Mistake:
Most first-time cast iron seasoners apply far too much oil, resulting in a sticky, gummy surface after baking. If your seasoned pan feels tacky rather than smooth and dry, you applied too much oil. Strip the pan and start again with a thinner application.
Step 3: Bake the Pan in the Oven (The Polymerization Phase)
The oven baking phase is where the actual seasoning chemistry happens — where liquid oil transforms into the hard, polymerized coating that defines a well-seasoned cast iron pan.
The Temperature Science:
Different oils polymerize at different temperatures. The oven temperature must exceed the oil’s smoke point to initiate polymerization. For most recommended seasoning oils, a temperature of 450°F-500°F produces optimal polymerization without burning the oil layer.
The 2026 Method:
- Preheat your oven to 450°F-500°F (use the higher end for flaxseed oil, lower end for canola or vegetable oil)
- Place the oiled cast iron pan upside down on the top oven rack — the inverted position allows any excess oil to drip off rather than pooling in the pan and creating uneven thick spots
- Place a sheet of aluminum foil on the lower rack to catch any oil drips
- Bake for exactly 1 hour
- After 1 hour, turn the oven off and allow the pan to cool completely inside the oven — do not remove the hot pan
- The cooling inside the oven allows the polymerized layer to set gradually rather than being subjected to rapid temperature changes
What You Will See:
After the first seasoning layer, the pan will appear slightly darker than before but may not yet have the deep black sheen of a fully seasoned pan. This is normal — multiple layers are required to build a complete seasoning.
Step 4: Repeat for Multiple Layers (The Building Phase)
One seasoning cycle produces one thin layer of polymerized oil — the foundation of a good seasoning. Building a durable, non-stick surface requires multiple layers applied through repeated seasoning cycles.
How Many Layers Do You Need:
| Layers Completed | Seasoning Status | Performance |
|---|---|---|
| 1-2 layers | Basic protection | Rust prevention only — food will still stick |
| 3-4 layers | Developing seasoning | Most foods cook without sticking |
| 5-6 layers | Good seasoning | Eggs cook without sticking with adequate fat |
| 7+ layers | Excellent seasoning | Comparable to non-stick for most cooking tasks |
The Initial Seasoning Protocol:
For a brand new pan or a stripped pan being reseasoned from bare metal, I recommend completing 3-6 full seasoning cycles before using the pan for cooking:
- Complete the oil application and baking cycle (Steps 2 and 3)
- Allow to cool completely in the oven
- Repeat the oil application immediately (Step 2)
- Return to the oven for another 1-hour baking cycle
- Repeat this process 3-6 times in a single day — each complete cycle takes approximately 1.5 hours including cooling time
The Efficient Approach:
Complete all initial seasoning cycles in a single day while you are home. Start the first cycle in the morning and complete 3-4 cycles by evening. This concentrates the initial seasoning investment into one session rather than spreading it across multiple days.
Step 5: Maintain Seasoning Through Cooking (The Long Game)
The final and most important step in understanding how to season a cast iron pan is recognizing that seasoning is not a one-time event — it is an ongoing process that continues every time you cook with the pan.
The Best Foods for Building Seasoning:
Certain foods actively build and improve seasoning with every cooking session:
- Bacon: The rendered fat is ideal for building seasoning — cook bacon in your cast iron regularly during the first months of ownership
- Pan-seared meats: High-fat cooking that produces the fond and browning that builds seasoning layers naturally
- Fried foods: Cooking in oil literally adds to the seasoning layer with every use
- Cornbread: The combination of fat and high heat builds excellent seasoning on the sides and bottom of the pan
The Foods to Avoid During Seasoning Development:
- Acidic foods: Tomatoes, citrus, wine, and vinegar-based dishes strip seasoning — avoid during the first 6 months of building a new seasoning
- Boiling water or liquids: Extended boiling in cast iron strips seasoning over time — use an enameled pot for boiling
- Highly sticky foods: Eggs, fish, and bread during early seasoning stages — wait until you have built 7+ layers before attempting these
The Post-Cook Maintenance Routine:
After every cooking session, maintain your seasoning with this routine:
- While still warm, wipe the pan with a paper towel to remove food residue
- If needed, rinse with hot water and scrub with a stiff brush — avoid soaking
- Dry immediately and completely on the stovetop over low heat
- While still warm from the stovetop, apply a microscopic amount of oil and buff dry
- Store in a dry location — never put away wet
Related Guide: See my Lodge Cast Iron Review 2026 for complete Lodge product recommendations and initial seasoning guidance.
The “Often Overlooked” Seasoning Factors
A complete guide on how to season a cast iron pan must address these frequently overlooked considerations:
The Humidity Factor:
In humid climates — including Austin during our rainy season — cast iron can develop surface rust overnight if stored improperly even after thorough drying. In high-humidity environments store cast iron with a paper towel inside the pan to absorb any ambient moisture that might contact the surface.
The Stove Type Consideration:
Induction stovetops and gas stovetops heat cast iron more unevenly than electric stovetops during the initial preheating phase. Always preheat cast iron slowly over low to medium heat for 3-5 minutes before increasing to cooking temperature — rapid high-heat preheating on induction causes uneven seasoning wear over time.
The Restoration Possibility:
No cast iron pan is beyond restoration. Even heavily rusted, completely unseasoned pans found at garage sales or flea markets can be restored to full cooking function through the stripping and reseasoning process. The cast iron itself is virtually indestructible — only the seasoning layer requires restoration.
The Soap Myth:
The belief that soap permanently destroys cast iron seasoning is outdated. Modern dish soaps are much milder than the lye-based soaps of previous generations. Occasional washing with a small amount of mild dish soap does not significantly damage established seasoning. However, avoid soaking in soapy water — extended exposure does strip seasoning over time.
Cast Iron Seasoning Oil Comparison Table
| Oil | Smoke Point | Seasoning Quality | Best For | Cost |
|---|---|---|---|---|
| Flaxseed Oil | 225°F | Excellent ⭐⭐⭐⭐⭐ | Initial base layers | High |
| Avocado Oil | 520°F | Excellent ⭐⭐⭐⭐⭐ | All seasoning applications | Medium |
| Grapeseed Oil | 420°F | Very Good ⭐⭐⭐⭐ | General seasoning | Medium |
| Crisco Shortening | 360°F | Very Good ⭐⭐⭐⭐ | Budget seasoning | Low |
| Canola Oil | 400°F | Good ⭐⭐⭐ | Everyday maintenance | Low |
| Lard | 370°F | Very Good ⭐⭐⭐⭐ | Traditional method | Low |
| Coconut Oil | 350°F | Moderate ⭐⭐⭐ | Available alternative | Medium |
| Olive Oil | 375°F | Poor ⭐ | Not recommended | Medium |
Sarah’s Complete Cast Iron Seasoning Schedule
Day 1 (Initial Seasoning):
- Strip and clean the pan thoroughly
- Complete 3-4 full seasoning cycles (oil + 1 hour bake + cool)
- Total time: 5-6 hours (mostly passive oven time)
Week 1-4 (Building Phase):
- Cook bacon, seared meats, and fried foods exclusively
- Apply maintenance oil after every cooking session
- Complete 1-2 additional oven seasoning cycles during this period
Month 2-6 (Development Phase):
- Gradually introduce more delicate foods as seasoning develops
- Continue post-cook maintenance oiling after every use
- Complete a full oven seasoning cycle monthly
Month 6+ (Maintenance Phase):
- The pan is now fully seasoned and improving with every use
- Continue post-cook maintenance oiling
- Complete an oven seasoning cycle every 3-6 months or after any major cleaning
Common Mistakes When Seasoning Cast Iron
When learning how to season a cast iron pan, avoid these errors:
- Applying too much oil: The single most common mistake — produces a sticky, gummy surface rather than a hard, smooth coating
- Using olive oil: Burns before polymerizing effectively — produces poor quality seasoning
- Seasoning at too low a temperature: Oil must exceed its smoke point to polymerize — temperatures below 400°F for most oils produce incomplete seasoning
- Only completing one seasoning cycle: One layer provides rust protection but not non-stick performance — commit to 3-6 initial cycles
- Cooking acidic foods too early: Tomatoes and citrus strip developing seasoning — wait 6 months before cooking acidic dishes
- Putting away with moisture: Even a small amount of water trapped on the surface causes rust overnight — always dry completely before storage
- Giving up too soon: New cast iron seasoning requires 60-90 days of regular use before achieving its full non-stick potential — commit to the process
Sarah’s Final Advice
Mastering how to season a cast iron pan is about patience, thin oil layers, and consistent cooking habits more than any specific technique or product. The thin oil application rule is the most critical — if you remember nothing else from this guide, remember that less oil always produces better seasoning than more oil.
In my Austin kitchen, my most-used Lodge 12-inch skillet has been building seasoning for three years of weekly cooking. The surface today is as smooth and non-stick as any Teflon pan I have ever used — and unlike Teflon, it is improving rather than degrading with every use. That trajectory — from rough factory seasoning to a smooth, naturally non-stick surface that improves indefinitely — is the unique magic of cast iron cookware.
For complete cast iron care, see my How to Clean a Cast Iron Skillet guide for post-cook cleaning instructions, or explore my Lodge Cast Iron Review 2026 for comprehensive Lodge product recommendations.
Shop the Season: Sarah’s Cast Iron Seasoning Essentials
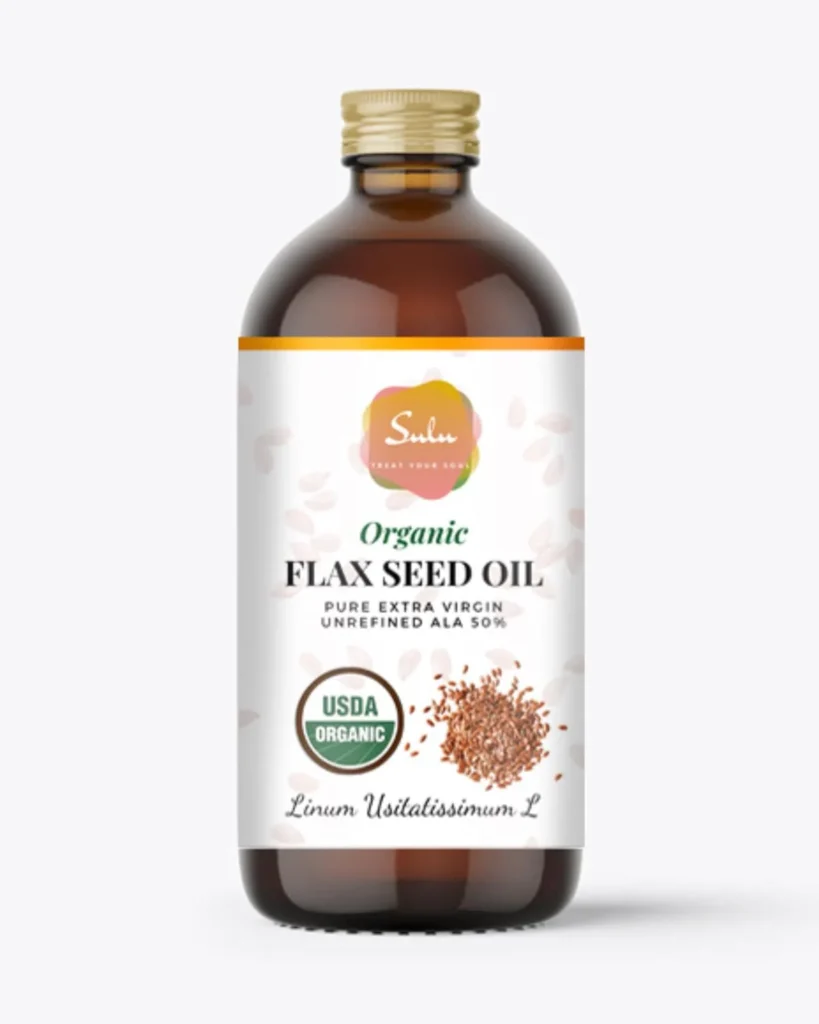
1. Flaxseed Oil (Cold-Pressed, 16oz)
The gold standard for initial cast iron seasoning. Cold-pressed flaxseed oil produces the hardest, most durable initial seasoning layers available from any cooking oil. My first recommendation for building the base seasoning on a new or restored cast iron pan.
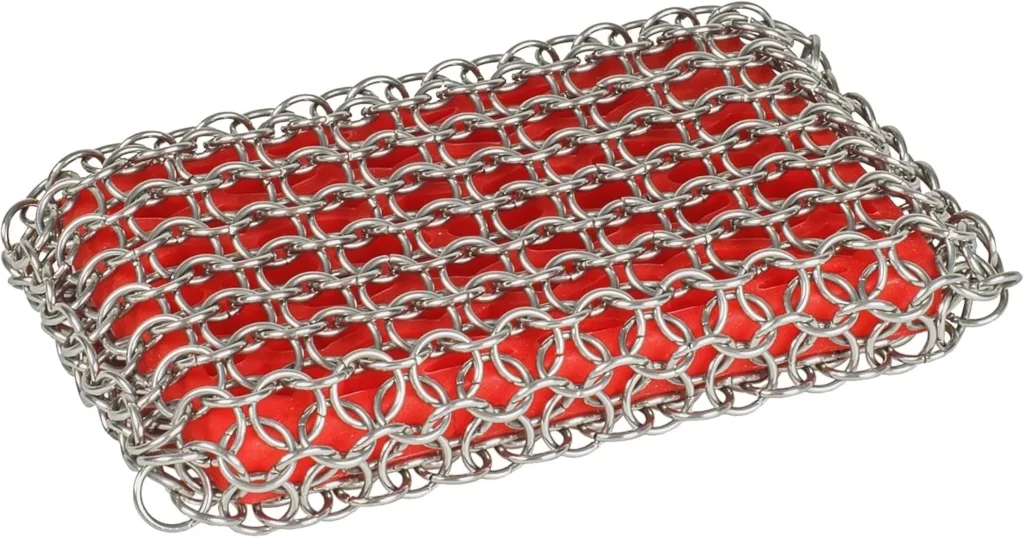
2. Lodge Cast Iron Scrubber (Chain Mail)
The most effective tool for cleaning cast iron without damaging seasoning. The stainless steel chain mail removes food residue and rust spots without stripping the polymerized oil layers that define a well-seasoned pan.
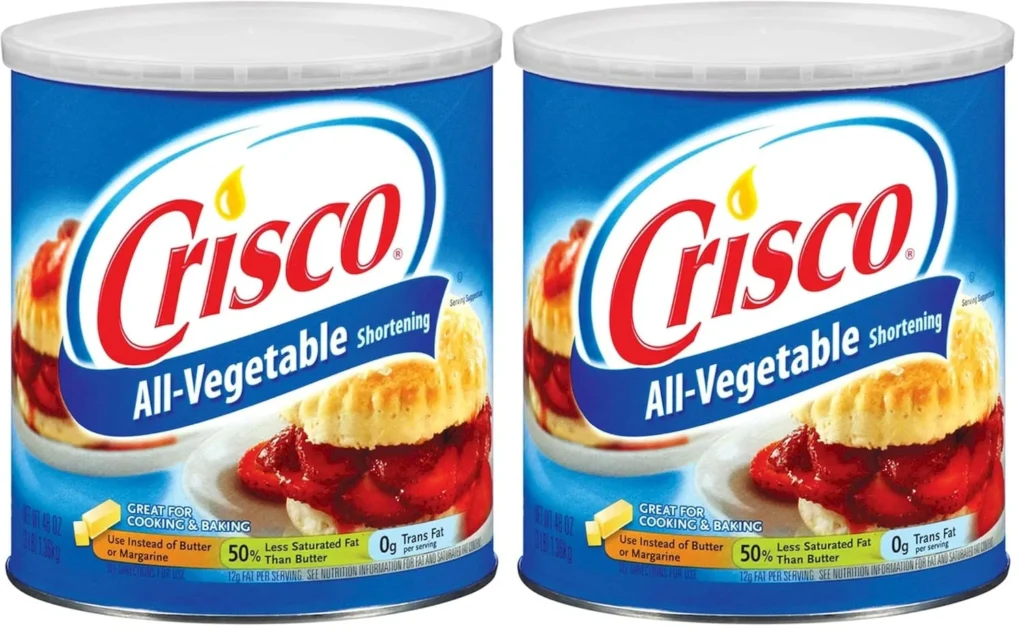
3. Crisco All-Vegetable Shortening (48oz)
The most cost-effective seasoning oil for ongoing cast iron maintenance. Produces excellent seasoning quality at a fraction of the cost of specialty oils. My everyday maintenance oil for all cast iron in my Austin kitchen.