If you’ve ever noticed a sour smell coming from your blender, or if you can see dried smoothie residue around the blade assembly, you need to know how to clean a blender properly. A dirty blender doesn’t just look bad—it harbors bacteria, affects the flavor of your recipes, and can shorten the life of your machine.
As a kitchen efficiency expert based in Austin, I use my blender daily as part of my 1-Hour Meal Prep System. Whether you own a budget model or one of the premium machines from my Vitamix vs Ninja 2026 guide, proper cleaning is essential for maintaining peak performance.
Here is my professional guide on how to clean a blender properly using five methods that cover everything from quick daily cleaning to deep monthly maintenance.
Table of Contents
Why Blender Cleaning Is Critical
Before we tackle how to clean a blender properly, let’s understand what’s at stake:
The Risks of a Dirty Blender:
- Bacterial Growth: The warm, moist environment inside a blender jar is perfect for bacteria like Salmonella and E. coli to thrive.
- Flavor Contamination: Yesterday’s garlic smoothie will ruin today’s protein shake.
- Blade Damage: Dried food particles create extra friction on the blade bearings.
- Motor Strain: Buildup around the blade assembly forces the motor to work harder.
The Rule: Clean your blender within 30 minutes of every use.
Method 1: The Self-Clean Method (The 60-Second Daily Clean)
This is the gold standard for how to clean a blender properly after everyday use.
What You Need:
- Warm water
- 2-3 drops of dish soap
The 2026 Method:
- Add warm water to the blender jar until it’s half full.
- Add 2-3 drops of dish soap.
- Place the jar back on the base and secure the lid.
- Run the blender on high for 30-60 seconds.
- Pour out the soapy water.
- Rinse with clean water and repeat the blending step once more with plain water.
- Turn the jar upside down on a drying rack to air dry.
Why It Works: The spinning blades create a powerful vortex that scrubs every surface of the jar, including the underside of the blades—without you ever touching them.
Best For: After making smoothies, soups, or sauces.
Related Guide: See my Vitamix vs Ninja 2026 guide for models with built-in self-clean programs.
Method 2: The Baking Soda Deep Clean (For Odors and Stains)
When your blender has developed a persistent odor or visible staining, this is the answer to how to clean a blender properly.
What You Need:
- 2 tablespoons baking soda
- Warm water
- White vinegar (optional)
The 2026 Method:
- Add warm water to the blender jar (half full).
- Add 2 tablespoons of baking soda.
- Blend on high for 60 seconds.
- Let it soak for 10-15 minutes.
- Blend again for 30 seconds.
- Pour out and rinse thoroughly.
For Extra Deodorizing Power:
After the baking soda soak, add 1/4 cup of white vinegar and blend for 30 seconds. This is the same chemistry I use in my How to Clean a Garbage Disposal guide.
Best For: After blending garlic, fish, or strong-smelling ingredients.
Method 3: The Manual Blade Clean (The Deep Scrub)
For the most thorough answer to how to clean a blender properly, you need to manually clean the blade assembly.
What You Need:
- Dish soap
- Long-handled bottle brush
- Rubber gloves (essential for safety)
The 2026 Method:
- Carefully remove the blade assembly from the jar (twist counterclockwise on most models).
- Place the blades in a bowl of warm, soapy water.
- Using a long-handled brush (never your bare hands), scrub around each blade and the gasket.
- Pay special attention to the underside of the blade assembly where residue collects.
- Rinse thoroughly and dry completely before reassembling.
Safety Warning: Blender blades are extremely sharp. Always use rubber gloves and a brush—never use your bare fingers to clean around the blades.
Best For: Monthly deep cleaning or after blending thick ingredients like nut butter.
Method 4: The Lemon Fresh Method (Natural Deodorizing)
For a natural, chemical-free approach to how to clean a blender properly, lemon is your best friend.
What You Need:
- 1 lemon (cut into quarters)
- Warm water
- 1 teaspoon of salt (optional)
The 2026 Method:
- Add the lemon quarters to the blender jar.
- Fill halfway with warm water.
- Add salt if desired (acts as a mild abrasive).
- Blend on high for 60 seconds.
- Pour out and rinse with clean water.
Why It Works: Citric acid in lemon naturally breaks down grease and deodorizes. The lemon peel adds mild abrasive action.
Best For: Quick freshening between deep cleans and after making smoothies with strong flavors.
Related Guide: See my How to Clean a Microwave with Lemon for more citrus cleaning applications.
Method 5: The Dishwasher Method (For Compatible Parts)
Many people ask about how to clean a blender properly using the dishwasher. The answer depends on your specific model.
The 2026 Rules:
- Jar/Pitcher: Most are dishwasher-safe (top rack only). Check your manual.
- Blade Assembly: Usually NOT dishwasher-safe—the high heat dulls blades and degrades rubber gaskets.
- Motor Base: NEVER put in the dishwasher—it contains electrical components.
- Lid: Usually dishwasher-safe (top rack).
The Safe Method:
- Check your blender manual for dishwasher compatibility.
- If approved, place the jar on the top rack only.
- Use a gentle, low-heat cycle.
- Dry immediately after to prevent water spots.
Related Guide: See my What Not to Put in a Dishwasher for complete appliance dishwasher safety rules.
Cleaning Methods Comparison Table
| Method | Time Required | Best For | Frequency |
|---|---|---|---|
| Self-Clean (60-second) | 2-3 minutes | Daily after use | Every use |
| Baking Soda Deep Clean | 20-25 minutes | Odors and stains | Weekly |
| Manual Blade Clean | 10-15 minutes | Thorough deep clean | Monthly |
| Lemon Fresh Method | 3-4 minutes | Natural freshening | As needed |
| Dishwasher (if compatible) | Dishwasher cycle | Quick convenience | Occasionally |
Common Mistakes When Cleaning a Blender
Learning how to clean a blender properly also means knowing what NOT to do:
- Submerging the Base: The motor base contains electrical components. Never immerse it in water. Wipe it with a barely damp cloth only.
- Using Abrasive Scrubbers: Steel wool scratches the plastic jar, creating grooves where bacteria hide.
- Leaving It to Soak: Prolonged soaking loosens the blade bearing seal, causing leaks.
- Not Drying Before Storage: Trapped moisture causes mold growth and that “sour blender smell.”
Sarah’s Blender Maintenance Schedule
Once you know how to clean a blender properly, create a routine:
After Every Use:
- Self-clean method (60 seconds)
- Air dry upside down
Weekly:
- Baking soda deep clean
- Check blade assembly for residue
Monthly:
- Manual blade clean
- Inspect gasket for cracks or wear
- Check firmware update (for smart models)
Related Guide: See my Kitchen Appliance Maintenance Guide for complete appliance care schedules.
Sarah’s Final Advice
Mastering how to clean a blender properly is about establishing a 60-second habit after every use. The self-clean method is so fast and effective that there’s no excuse for a dirty blender. Pair it with a monthly deep clean and your blender will perform like new for years.
For more kitchen tool care, check out my How to Clean a Cast Iron Skillet or see my How to Sharpen Kitchen Knives at Home for complete kitchen maintenance.
Shop the Clean: Sarah’s Blender Care Essentials
1. Long-Handle Bottle Brush (Flexible, BPA-Free)
Essential for safely cleaning around sharp blender blades without risking your fingers. Works for all jar sizes.

2. Food-Grade Rubber Gloves (For Blade Cleaning)
Always wear these when manually cleaning the blade assembly. These chemical-resistant gloves protect against both cuts and cleaning agents.

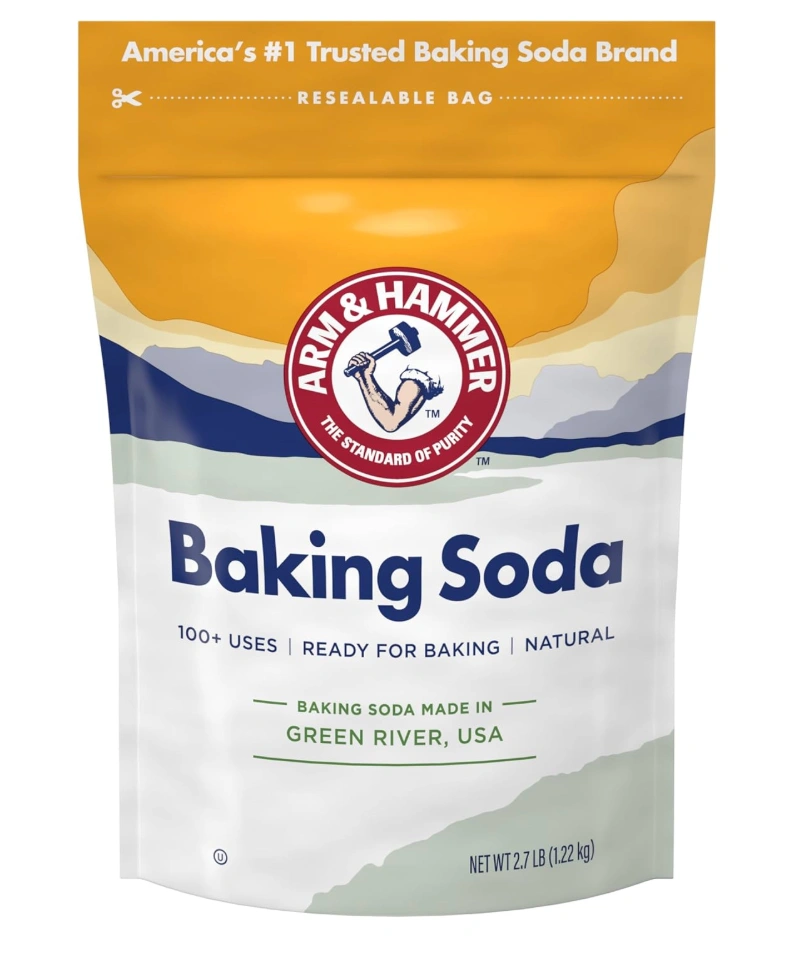
3. Pure Baking Soda (5-Pound Bag)
The workhorse of natural blender cleaning. Use it weekly for odor elimination and stain removal.